
Modern-Cottage Lofted Bunk Bed

Two months (and a few weeks) later... this modern-cottage bunkbed with a full size bed lofted above a playhouse is near complete. I feel pretty good about that timeline considering I found out I was pregnant, had a few weeks of house guests, two birthdays, anniversary, started distance learning for two kids and life happening at the same time! At some point I will go back and paint the inside and add some shelving for a "nightstand" situation, but otherwise I am so happy with how the exterior turned out.
This project started when my daughter wanted a Pottery Barn bunk bed that looked like a cute little playhouse with a bed above. I almost bought it for her for Christmas, but the 400-600 shipping was killing me. Sometimes I wish they would just up the price and say free shipping. It would make me feel better. I decided to wait and see what was going to happen with our possible relocation so I wouldn't have to put it together and take it down within a few months.(which we are not doing btw, we are staying here in STL for the long haul)

(If you are wanting a fun house style bunk bed I would highly recommend either one of these. They are beautiful! Trust me I made up for the price difference in manual labor and then some! The Treehouse Bunk Bed and the Playhouse Bunkbed from Pottery Barn run 1600-2100 and are really well made too!)
Stella's birthday is in July and she brought up the bed again and I decided to start figuring it out if I could build something awesome for less. I stilled loved the inspiration beds I found, mostly the custom ones I found on Etsy, but if I could do it for less than the $2000 I could possibly do the floors or other projects with the $$$, plus I would get to customize it!
I did a lot of research, on and off for months. I Pinned every picture I could find of what I was looking for. I drew up so many designs and tried to think of everything, but a lot of it I figured out as I went. I did not follow plans for this bed. (I did adjust plans for the stairs though and they are linked here.) I used the dimensions of a full-sized bed to get the framing and sizing right. I have 8 foot ceilings so I wanted to maximize the height so it would be comfortable upstairs and downstairs for my growing kids. Originally I wanted to be able to take this bed down and disassemble. That went out the window real quick! It is permanent and will be taken down with a chain saw when the time comes! (Probably the day my kids take me to the nursing home LoL!!)
I have built other beds before, like my upholstered King-sized bedhere. This bed was a different beast. I wanted this cute house that looked like a real little cottage, but it had to be safe and comfortable and a functional bed. I knew when I started it was going to take two or three months without a pandemic canceling all summer camps and being first trimester pregnant!
I don't have a full tutorial, but here are some pictures of the process. I also broke down the entire cost of the bed and accessories along with sources at the very end!
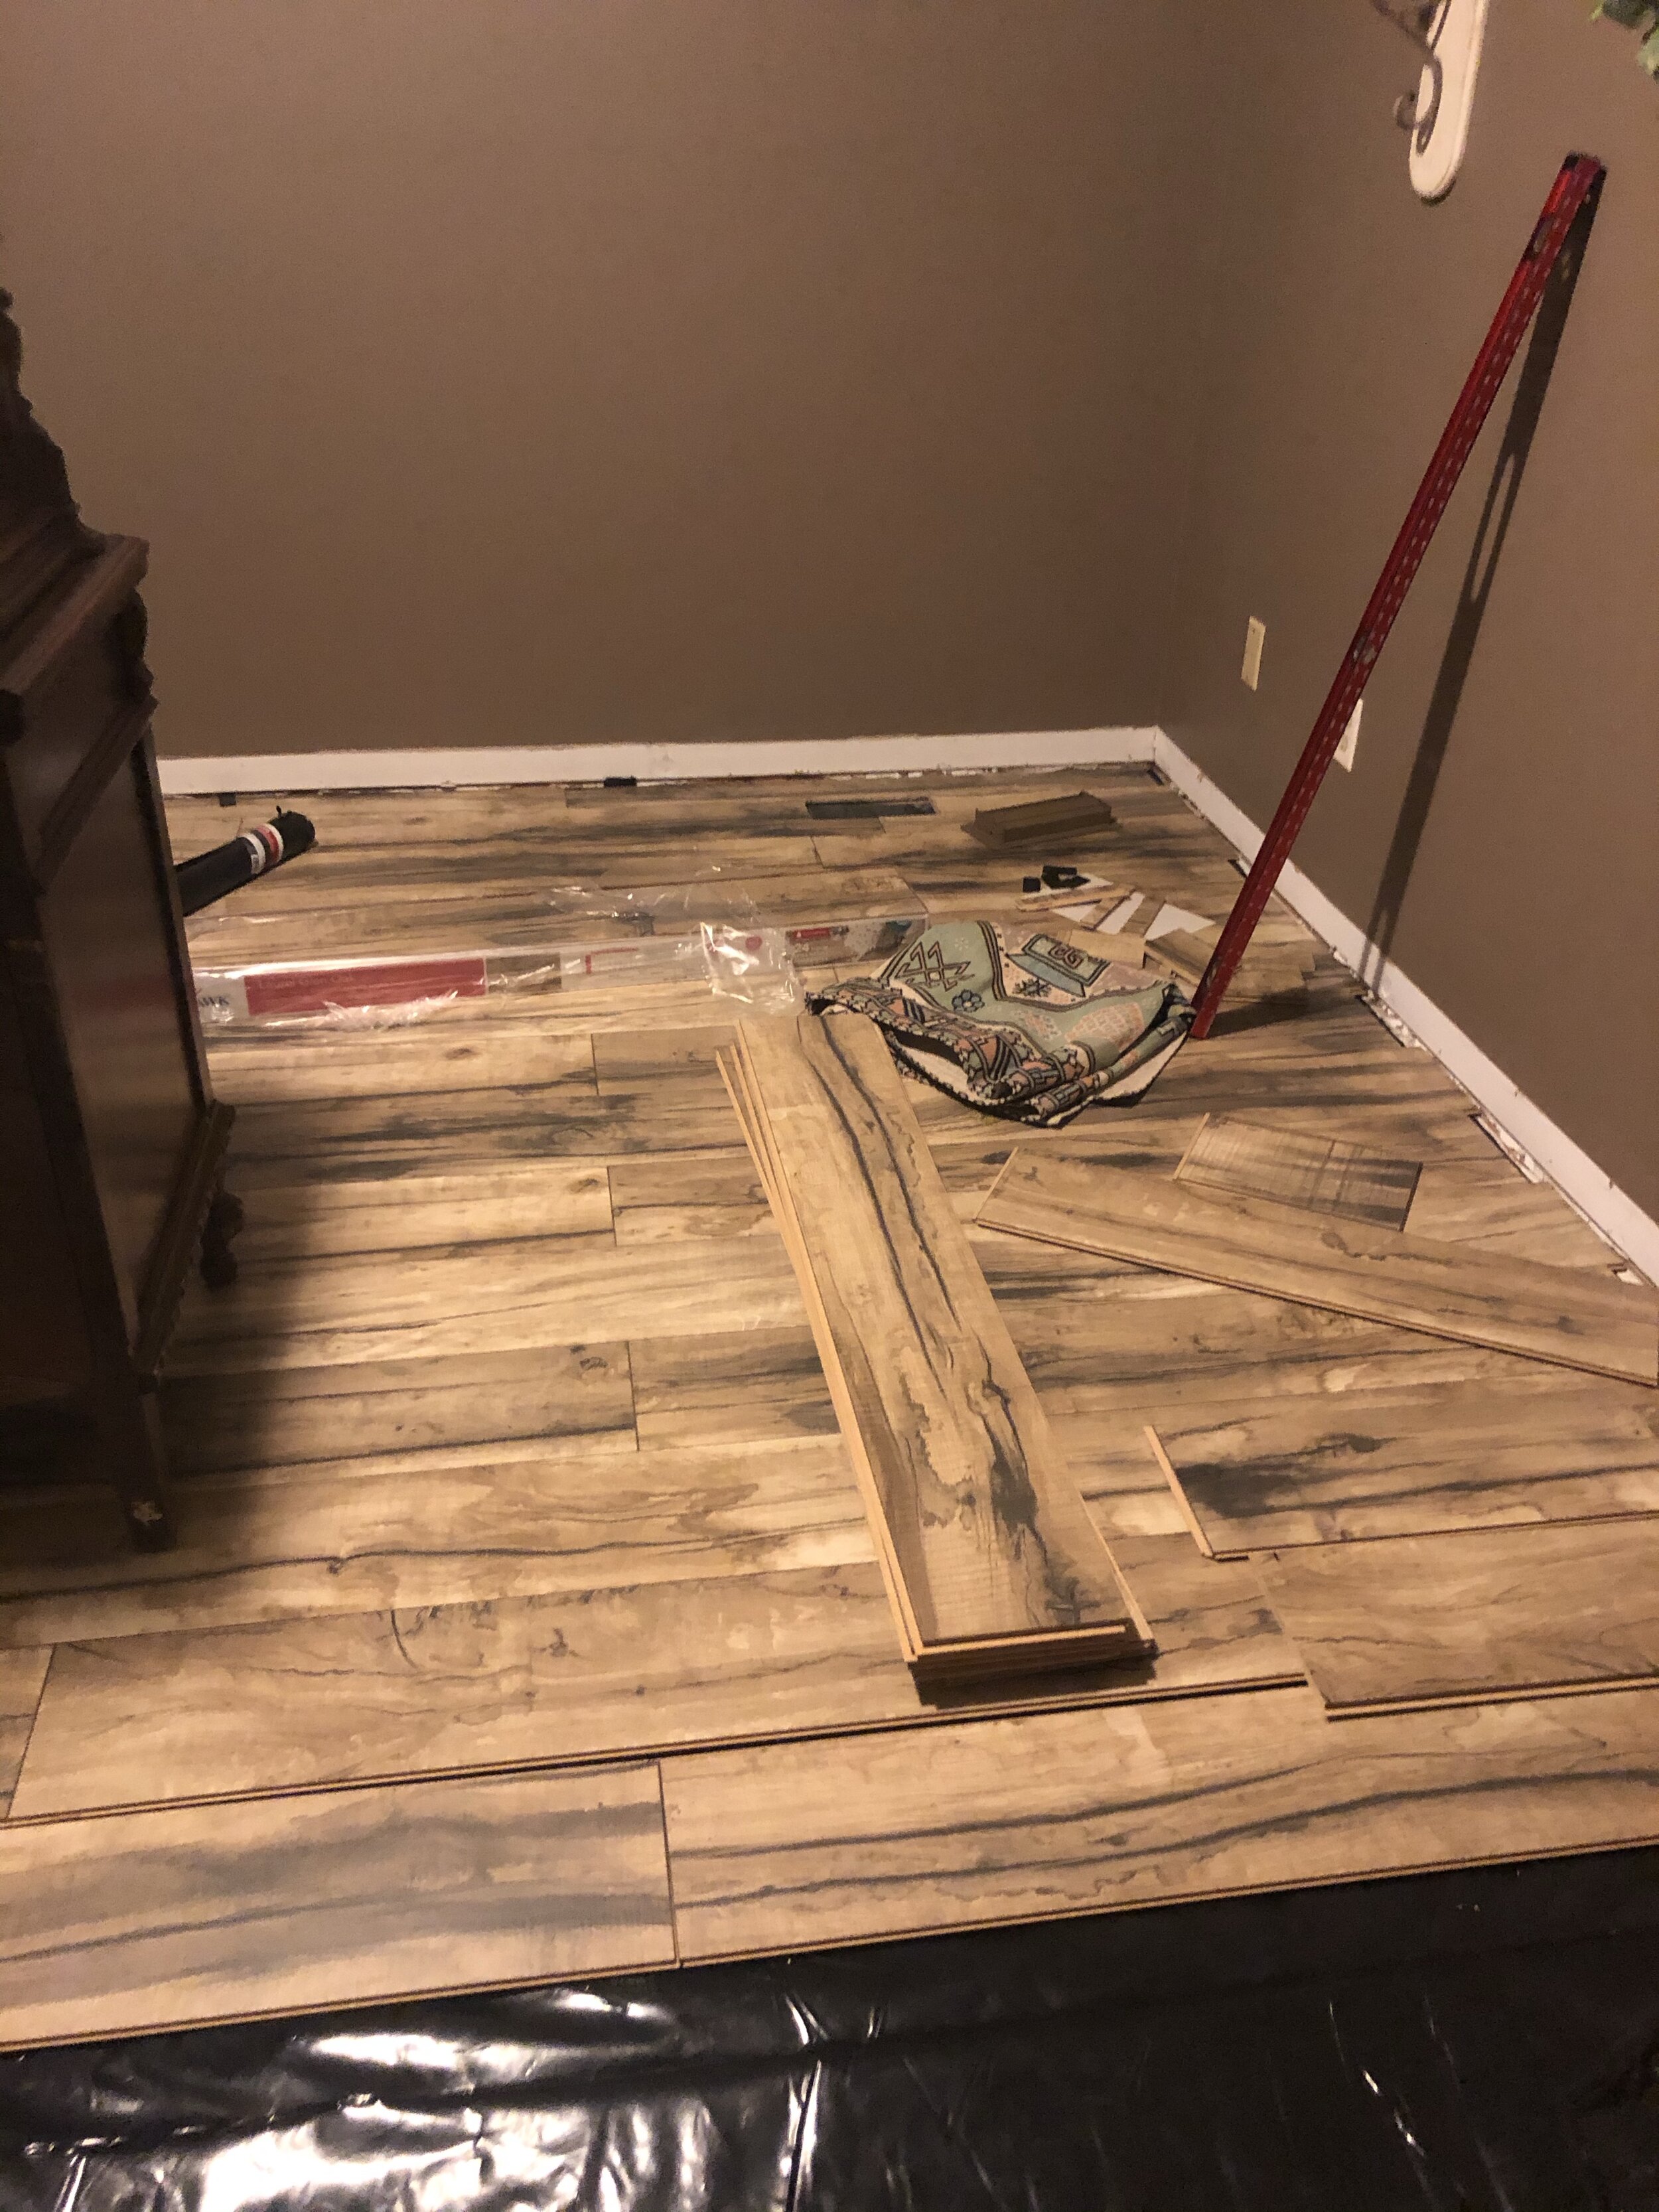
First I installed the floors back in June, two days after I finished I found out I was pregnant with baby #3. I started the bed by framing out the front and back and adding a pitched roof. I left room for the windows and door openings.
After the frame was up I shiplapped the outside. This went pretty fast. I added a plywood roof and the dormer windows. Hindsight, I would have shingled the roof on the ground. Some of the top shingles were hard to nail in with the ceiling and I would have saved myself going up and down the ladder. I built the stairs with cubbies to use for storage. This bed is large so I wanted the least amount of clutter and furniture in the room.

At this point it was all the details. I added all of the trim on the corners, filled all of the nail holes, caulked the seams and painted all of the trim. The shiplap was preprinted, which saved me a ton of work. I paint matched a quart for the stairs and touch ups. Lights, a house number and window boxes gave the house so much "cottage charm" that we were going for. The slide was probably the part that gave me the most headache. The original one was WAY too steep. My kids were terrified!


Ta-dah! Here it is! It is so fun and so many kids have already enjoyed it. It is about 95% done. Over the next few weeks I will be adding second story planter boxes and painting the slide and platform. Later on, we will finish the inside, mostly with paint and I will give another update then!
Can you believe we went from this to this in just under three months?

Here is the breakdown:
Flooring/Paint/Trim:
Wood floors $400.00
Underlayment sheeting. 16.00
Baseboards 52.98
Pink paint 37.98
$506.96
Roof:
Roofing 1/4 sheets plywood $22.48
Cedar shakes 30.00
$52.48
Slide and stairs:
plywood purchase 4x4 $18.60
Melamine board. 13.95
Square dowels 6.00
$38.55
Wood Structure
2x4-31x $3.16 $ 97.96
Fence brackets 4.08
$102.04
Shiplap/Trim
1x2 $42.26
1x3 8.56
Shiplap 144.13
Trim moulding 10.64
1x4 25.00
$244.43
Other Supplies
Screws $10.98
Kreg screws 5.98
Caulk 3.98
Paint-shiplap 16.48
Wood filler 7.28
$44.70
Accessories:
Mailbox $13.48
House numbers 3x 6.58 19.74
Foam inserts for planters 3.00
Ikea pillow cover 6.00
2 light fixtures(20%off coupon) 44.06
Puck lights 21.00
Dresser-FB marketplace 100.00
Full-sized Mattress 200.00
$397.28
Total Bed Cost: $573.48
Total Room Cost: $1386.44
First of all, I am dang proud that I had all of those receipts! I definitely could have cut a few corners to cut costs, but for less than the price of the original inspiration bed I was able to build a custom full-sized bed along, install all new floors and trim, furnishing the room and getting a new mattress. I will leave you with this. I would never build this again, at least not anytime soon, but I have no regrets! It is already so well loved and my kids have made so many memories playing in it and having sleepovers.
***Items on hand: Tools, nails, screws, primer, charcoal paint, iron on banding for stairs, some trim moulding, and scrap lumber.
Links available on my like to know it profile. Download the app and follow me there for access to sources.