
Primary Bedroom No. 3 DIY Upholstered Wingback Bed Tutorial

This tutorial took me almost 8 months to write. It is detailed with a lot of photos, which is why I was putting it off so long! Anyway I hope if you have considered building your own upholstered bed that this can help you. I had been eyeing all of the high back upholstered beds for a while. Our master bedroom is big and I wanted a statement bed. I also wanted a super comfortable and cosy bed, like an amazing hotel.
I thought our mattress was needing replaced (even though it was high end, fairly new and has a 25 year warranty) because it was becoming so uncomfortable. After I took everything off, it turned out the frame was too wide for the mattress and it wasn't being supported properly. The slats were breaking down because the box spring was sitting on top of 1x2 slats, not the actual bed frame structure. The boards were cheap to be honest.

I looked at so many beds. I decided I wanted a really tall wing-back headboard with upholstered side rails and mid-century modern legs. The one I wanted was about $1000 on sale and it was not the most expensive by far. I was ready to buy it, but I knew I could do it for less myself and get the exact size, style and fabric that I wanted.
There are similar headboard tutorials, but I wanted to build an entire bed. I didn't want a metal frame. I wanted to build a custom frame to fit the mattress and box spring tightly. It turned out better than I could ever have expected. I documented the process so I could share it here.
PLEASE READ IF YOU ARE BUILDING THIS BED: I am going to share what I did to build this bed with my dimensions. My bed is not a standard King. You can adapt it to fit yours. My bed measures 2.5 inches shorter on each side compared to a standard bed.
For reference: My mattress/ box spring measures 73.5 x 77.5 inches. A Standard King is 76x80
I started out by laying out the box springs together.

Step 1: Building the Bed Frame
I measured the box spring and added 1 inch to each side. Then using 2x4s I framed out the base of the bed. I chose to make the base almost the same size as the box spring so the bed fits tight and secure in the frame.
I added 3 slats spaced evenly between the frame boards for support. (Remember: this is for a bed WITH a box spring. If you don't use one you will need more slats for support). I used 3 inch wood screws to put these together.

I used these 6 inch Mid-Century Modern Legs purchased from Amazon. I needed to add a little block in each corner to support their square bases. (I attached the blocks with two wood screws as well) Depending what type of legs you use, you may or may not need to add these blocks. Predrill the holes for the base plates. After the plates are on you just screw the legs in.
Flip the frame over. You will need to add more "leg supports" in the middle of the bed if it is a King size. I used scrap 2x4s for this. Because I am upholstering the entire frame, and it is sitting low to the ground, you cannot see these "rough legs". If you are concerned, you might want to purchase extra "pretty" ones.
Cut four legs and attach them to the second and forth slats so they are out of sight. Put the box spring or mattress back on the bed because next we are going to make the upholstered side and foot rails.

Step 2: Building and Upholstering the Side and Foot Rails
I bought one sheet of 4x8 foot plywood to rip down (cut into strips) to make the rails. Below is a diagram of how I had Lowe's rip my 4x8 board. I have a miter saw so I cut the small cuts at home. They ripped 3-10 inch wide planks and 2-9 inch planks.

Remember when figuring out the lengths of these rails the FRONT board needs to cover the side boards so you don't see the ends from the front. It will make sense in the next few pictures. The side rails only need to cover the 2x4 frame.
In the picture below, you can see I laid all 3 side rails out so they tightly framed in the base of the bed. After you "dry fit" them, then it's time to upholster.

I used upholstery grade fabric from JoAnn Fabric. This is the best choice because it can withstand the pulling and stapling without ripping. (The fabric looks a little wrinkled but it isn't, I needed to steam it.) You need to upholster all three rails. (I did not take pictures of upholstering the rails. I did take better pictures of the remaining pieces, so after you see all of them it will be easy to do the rails.) Basically you wrap it with batting and then with upholstery like a present. the entire back doesn't need to be covered. Just pull it as tight as you possibly can. You will use a million staples.

After all three are all upholstered, starting with the front rail, you want to attach it to the main 2x4 frame. make sure to use 2 inch or under screws, but be careful not to go through the front of the rails. You will attach the rail to the frame from the inside of the 2x4 frame. Make sure the board is level and even before doing the sides.

Don't worry if the rails seem like they aren't standing up straight, this is where the "L brackets" come in. As you can see in the second picture it straightens them right out. When you are screwing through the fabric you might have to cut a little hole or cut out the batting so it goes through to the wood easily.

Next, I will show you my cheap trick to hide the box spring. I took a white fitted king sheet I had on hand and covered the box spring with it tightly. Then add the mattress on top, and now its time for the final piece- THE HEADBOARD!
Step 3: Building and Upholstering the Headboard
The headboard is made out of two wingback pieces(these are mirror images-one left and one right) and the main back piece. I have a lot of photos but it's not super complicated. (Please excuse some of the messy pictures. I was building this in the room with all of my old furniture, two kids and trying to get it done to surprise my traveling husband ... can we say #makeitwork?)

The first picture is terrible but it is the only picture I could find without the main headboard piece assembled. The wood for the wingbacks are sitting in place in the back (in case you couldn't picture it.) The second picture is the bed assembled.
FYI: My headboard is 60 inches tall from the floor to the top.
First we are going to build the two wingback pieces. DO NOT FORGET ONE RIGHT ONE LEFT SIDED PIECES! I am using the the plywood that was ripped 9 inch wide. I cut it to 60 inches tall. I decided that I wanted these to be thicker so they looked more substantial from the front view. I doubled up the 9 inch wide plywood from the top of the headboard until it hits the frame of the bed/ side rails. For my bed this was 44 inches of double plywood (This is the part that might be confusing.) I pieced it with left over scraps. After it is upholstered YOU CANNOT tell at all. (Look at the photo below for a better idea). The second picture shows what it looks like with the fabric over it.

I then attached a 60inch 1x4 on the side. This 1x4 will be behind the headboard against the wall. I cut a rectangle of batting. I sprayed the back of the wing with adhesive and laid it on top making sure it was smooth. (Think wrapping a gift)

As you can see I left the batting off of part of the 1x4. This is because it will get bulky when you add the headboard later. The batting can be fitted and stapled and then trimmed LAST, so don't worry about it being perfect until you are ready to put fabric on it. I was marking where the headboard would go on the wing. Mine was 33 inches-which is pictured on the measuring tape. That is the part of the wing that will show when the bed is assembled.

(Pictured above 1-6)
(1-2) Cut a piece of upholstery fabric and using the spray adhesive make a folded over hem. (spray the edge and fold it over straight). (3) Test wrap the fabric and neatly trim off the excess. Cut a rectangle that will cover the exposed end. (4)spray the L shaped end and place the rectangle on it. Cut little square corners out to get rid of excess fabric. (5-6) spray and wrap the main fabric around covering the raw edges.

Part of this will not show, but I decided I wanted to fully wrap the exposed wood. Staple it in the seam but remember the top part of this will show and you don't want dents. Spray adhesive is enough on the wide flat parts.

This view is from the bottom. You can see where the wood was doubled up and then when it transitions to single ply. Repeat the same process to the bottom of the board to cover the batting. I did not put batting on the inside of the "L" on the 1x4 side as seen above I just wrapped the fabric around. You can see in the second picture out the wing is thick and then rests right on top of the side rail. It turned out to work better than I pictured. It makes it feel really cozy and well made. In the pictures below you can see that the 1x4 pieces don't show after we attach the back piece so you can put as many staples in that area as you need.

Step 4: THE MIDDLE HEADBOARD
The FINAL piece is the middle back of the headboard. THIS IS THE EASIEST PART. The only thing you need to remember is, , make this fabric wrap as tight as you possibly can. You don't want it to sag or wrinkle after all of that work. It is the main thing you see.
The headboard piece is a plywood sheet measuring 33x 77.5 (same width as front rail). It is a large rectangle. You need the foam mattress pad, batting and the upholstery fabric. Start by cutting the foam mattress pad to the size of the headboard. Use spray adhesive to attach it. I had to stretch mine because it was slightly too small. DO NOT STAPLE THE FRONT OF THE HEADBOARD.

After the foam you will wrap the headboard in batting. it will smooth the foam out around the edges. Cut a piece of upholstery for the final wrap. I made mine really neat and symmetrical, but it is not necessary as it does not show. I folded in a side first, turning under the raw edge and stapling the fabric tight. I cut off part of the excess fabric on the corners. Leave one of the long edges for last and pull it as tight as possible.

All that is left to do is attach the two wingbacks to the main headboard piece. I found it easiest to lay the main piece face down on the mattress as pictured below. Then lay each wing piece on top and screw them to the headboard from the back of the 1x4 piece. I did 4 screws on each side and it felt very sturdy.

I did not attach the headboard onto the main frame/base, but you could do that with screws or more metal brackets. I stood it up in place and pushed the frame against the wall in front of it.
Just incase you thought this room was finished and clean.. this is the reality of doing DIY project along with life... what you usually don't see on the other side of the shot! LOL it is all cleaned up and gone now, but I had to document the mess too!

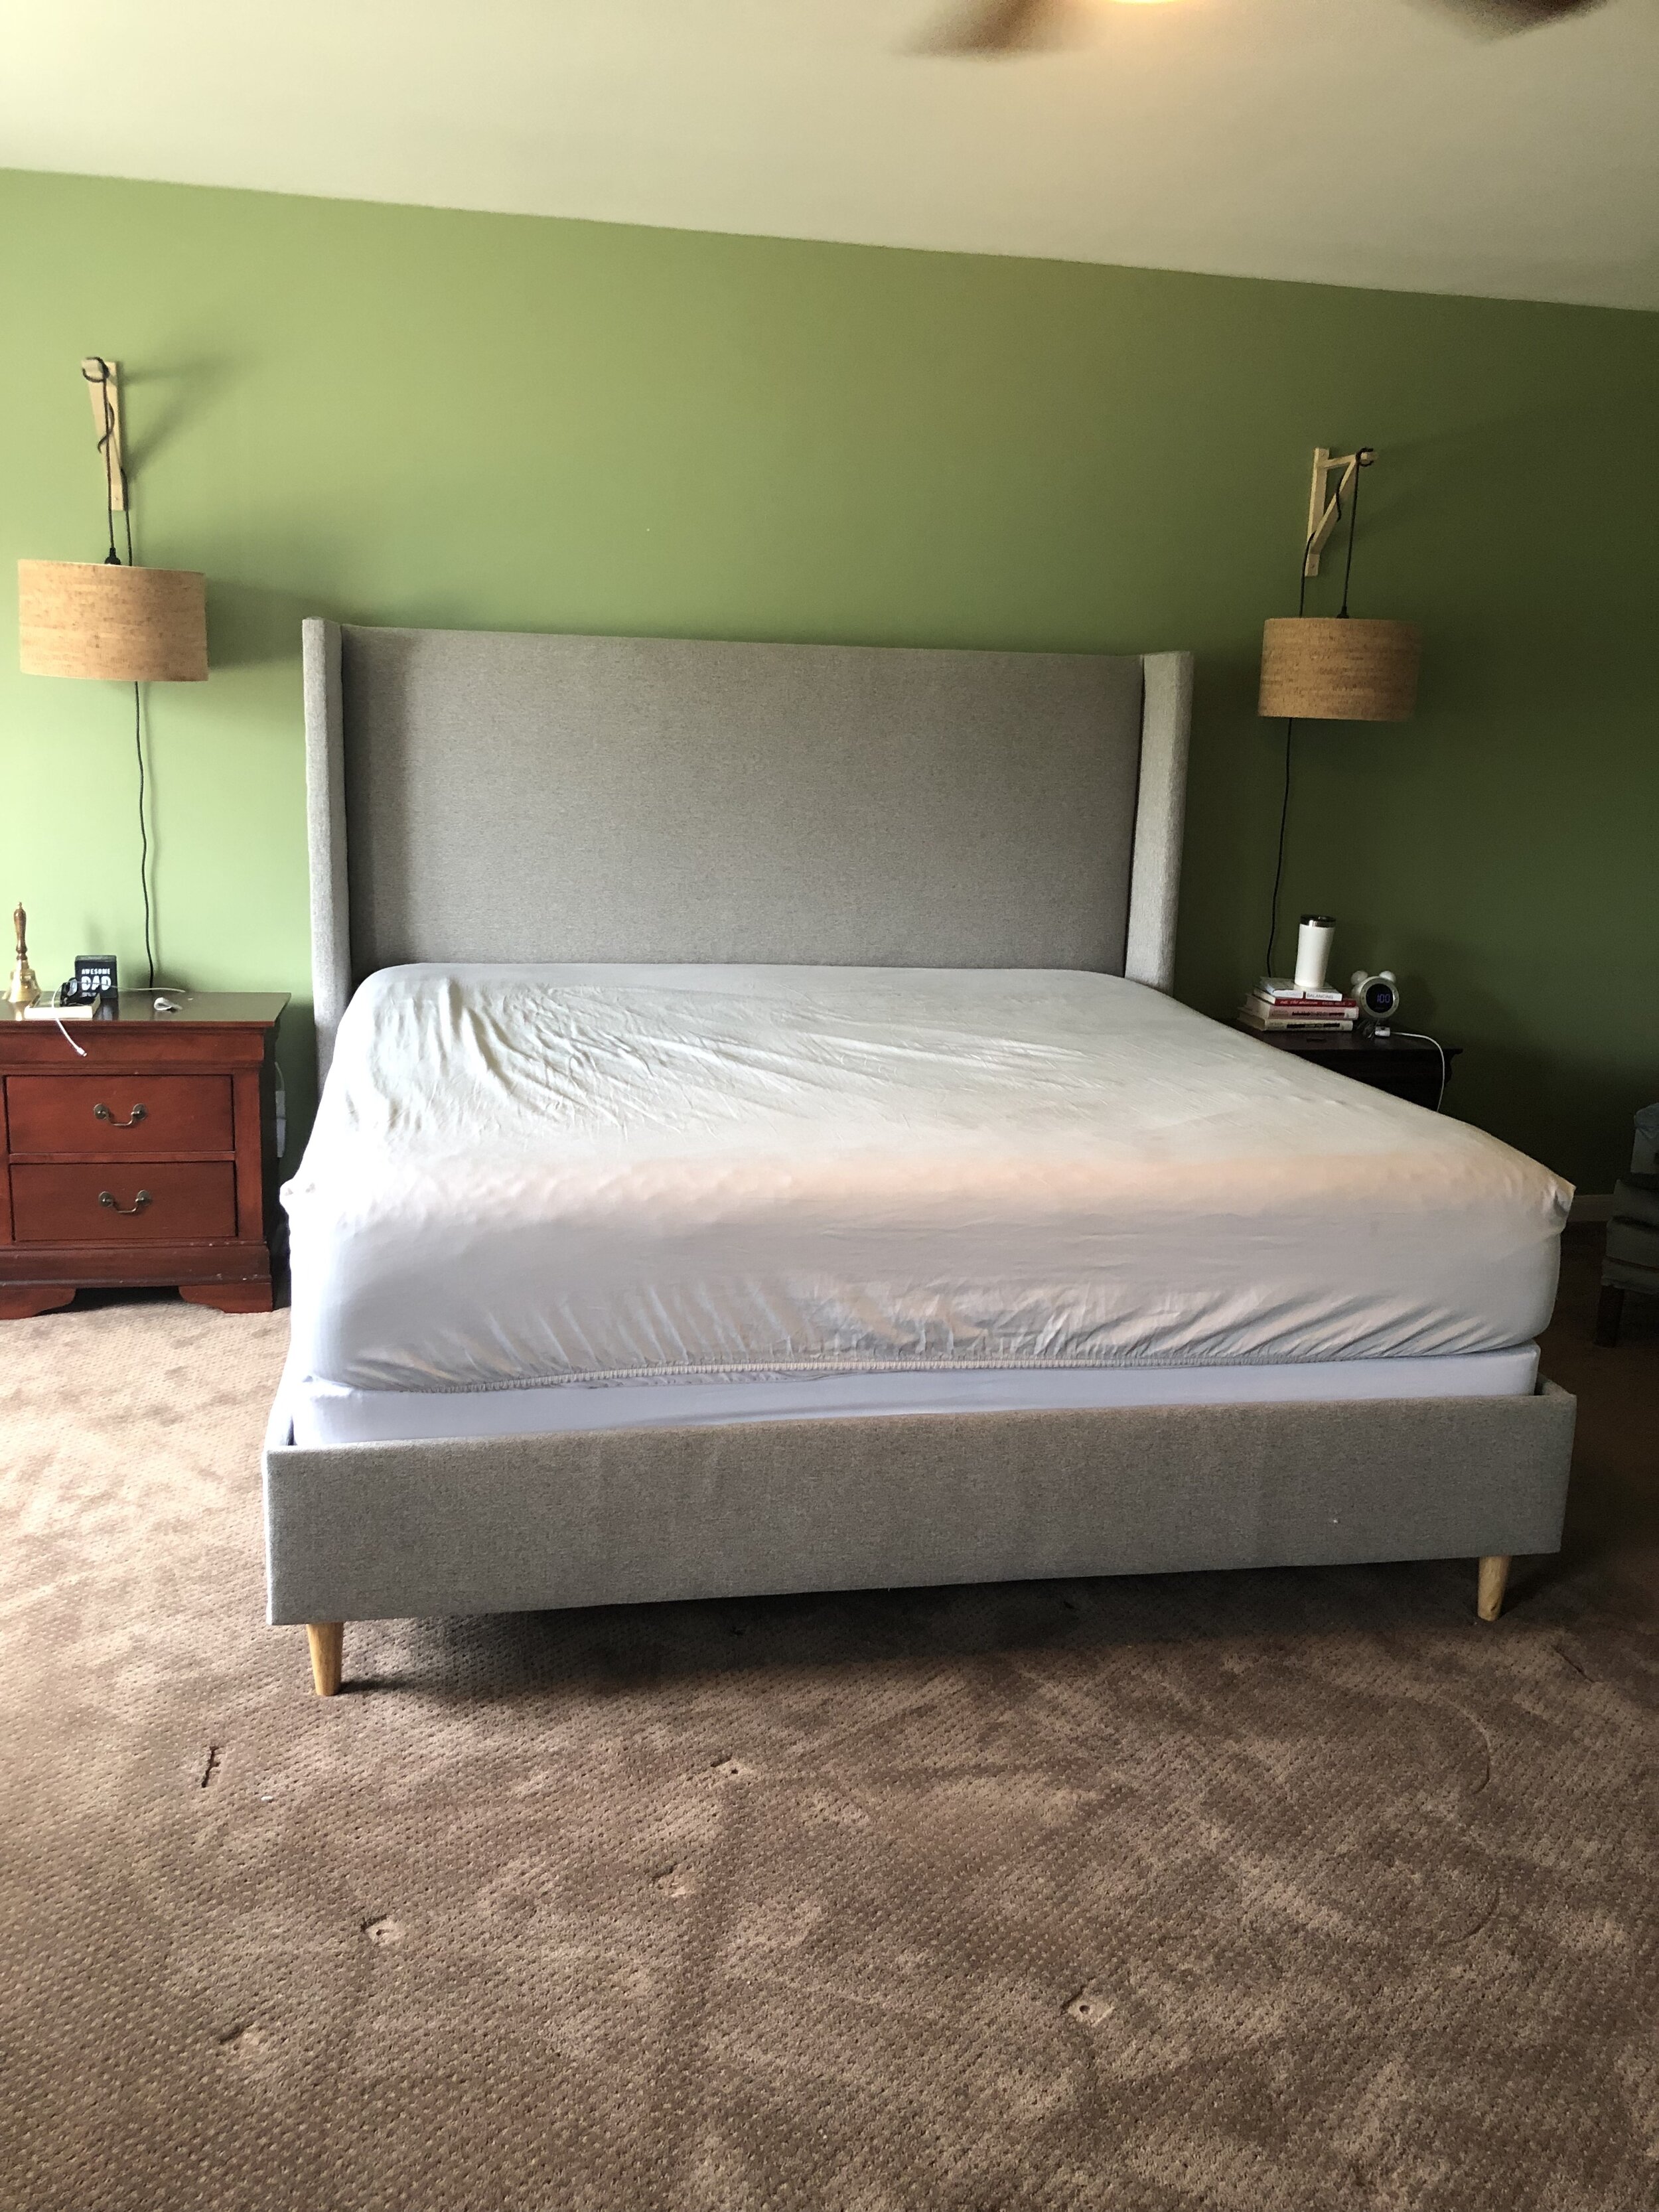
Here are a few updated pictures of the bed now. I LOVE it and look forward to climbing in every. single. night! If you ever have a question feel free to contact me!
Supplies and Cost Breakdown:
7-2x4 studs $20
Plywood $40
Batting $30- with coupon
Upholstery fabric $52+ $60 - 50% off sale
Spray Adhesive $9
4 Bed Legs $29
2 L brackets and screws $12
TOTAL COST: $292
FYI: These are the supplies I needed based on my bed measurements and the supplies I had on hand. I had some left over plywood and the 2-1x4s.
Make sure to measure out the fabric needed before ordering. Originally I ordered fabric and it was not one continuous piece so I had to order more half way through. If I didn't have that mistake I would have made it for under $250!! I had already started cutting so I couldn't return the pieces. I still feel like I got an amazing custom bed in a few days for under $300!!!
Thank you for reading and let me know if you build a bed of your own!